Platform turns your account into a hub for multi-party payment flows: connect merchant accounts under your platform and manage payouts on their behalf. It's the model marketplaces, SaaS platforms, crowdfunding services, ISOs (Independent Sales Organizations), and PSPs (Payment Service Providers) use to manage payments for the businesses they serve.
Before connecting real merchants, you can build and validate the entire structure in a sandbox — with no limit on the number of test merchant accounts and no risk to live operations.
What you can do:
- Structure your platform: connect and manage multiple merchant accounts under a single Platform account
- Monitor transaction volume across all connected merchants in one place, in both sandbox and live environments
- Validate your integration risk-free using unlimited sandbox merchant accounts before onboarding real merchants
You can transform your account into a Platform and start building your integration immediately using sandbox merchant accounts — no need to wait for merchant onboarding. Add as many sandbox merchant accounts as you need to test and simulate your business structure as closely as possible, all self-service from your Dashboard, with no need to contact support.
Moving to production requires completing merchant onboarding for each connected merchant. Once a merchant is successfully onboarded, a new merchant account is created under your Platform in Live mode, and production API keys become available for that merchant.
Your sandbox merchant accounts and test API keys remain active after go-live, so you can keep validating new flows or platform changes alongside your production environment.
Follow the steps below to start:
Step 1: Create an account
Sign up at dev.shift4.com.
You can transform an existing account into a Platform by clicking the Become a Platform button, visible when you open the user menu.
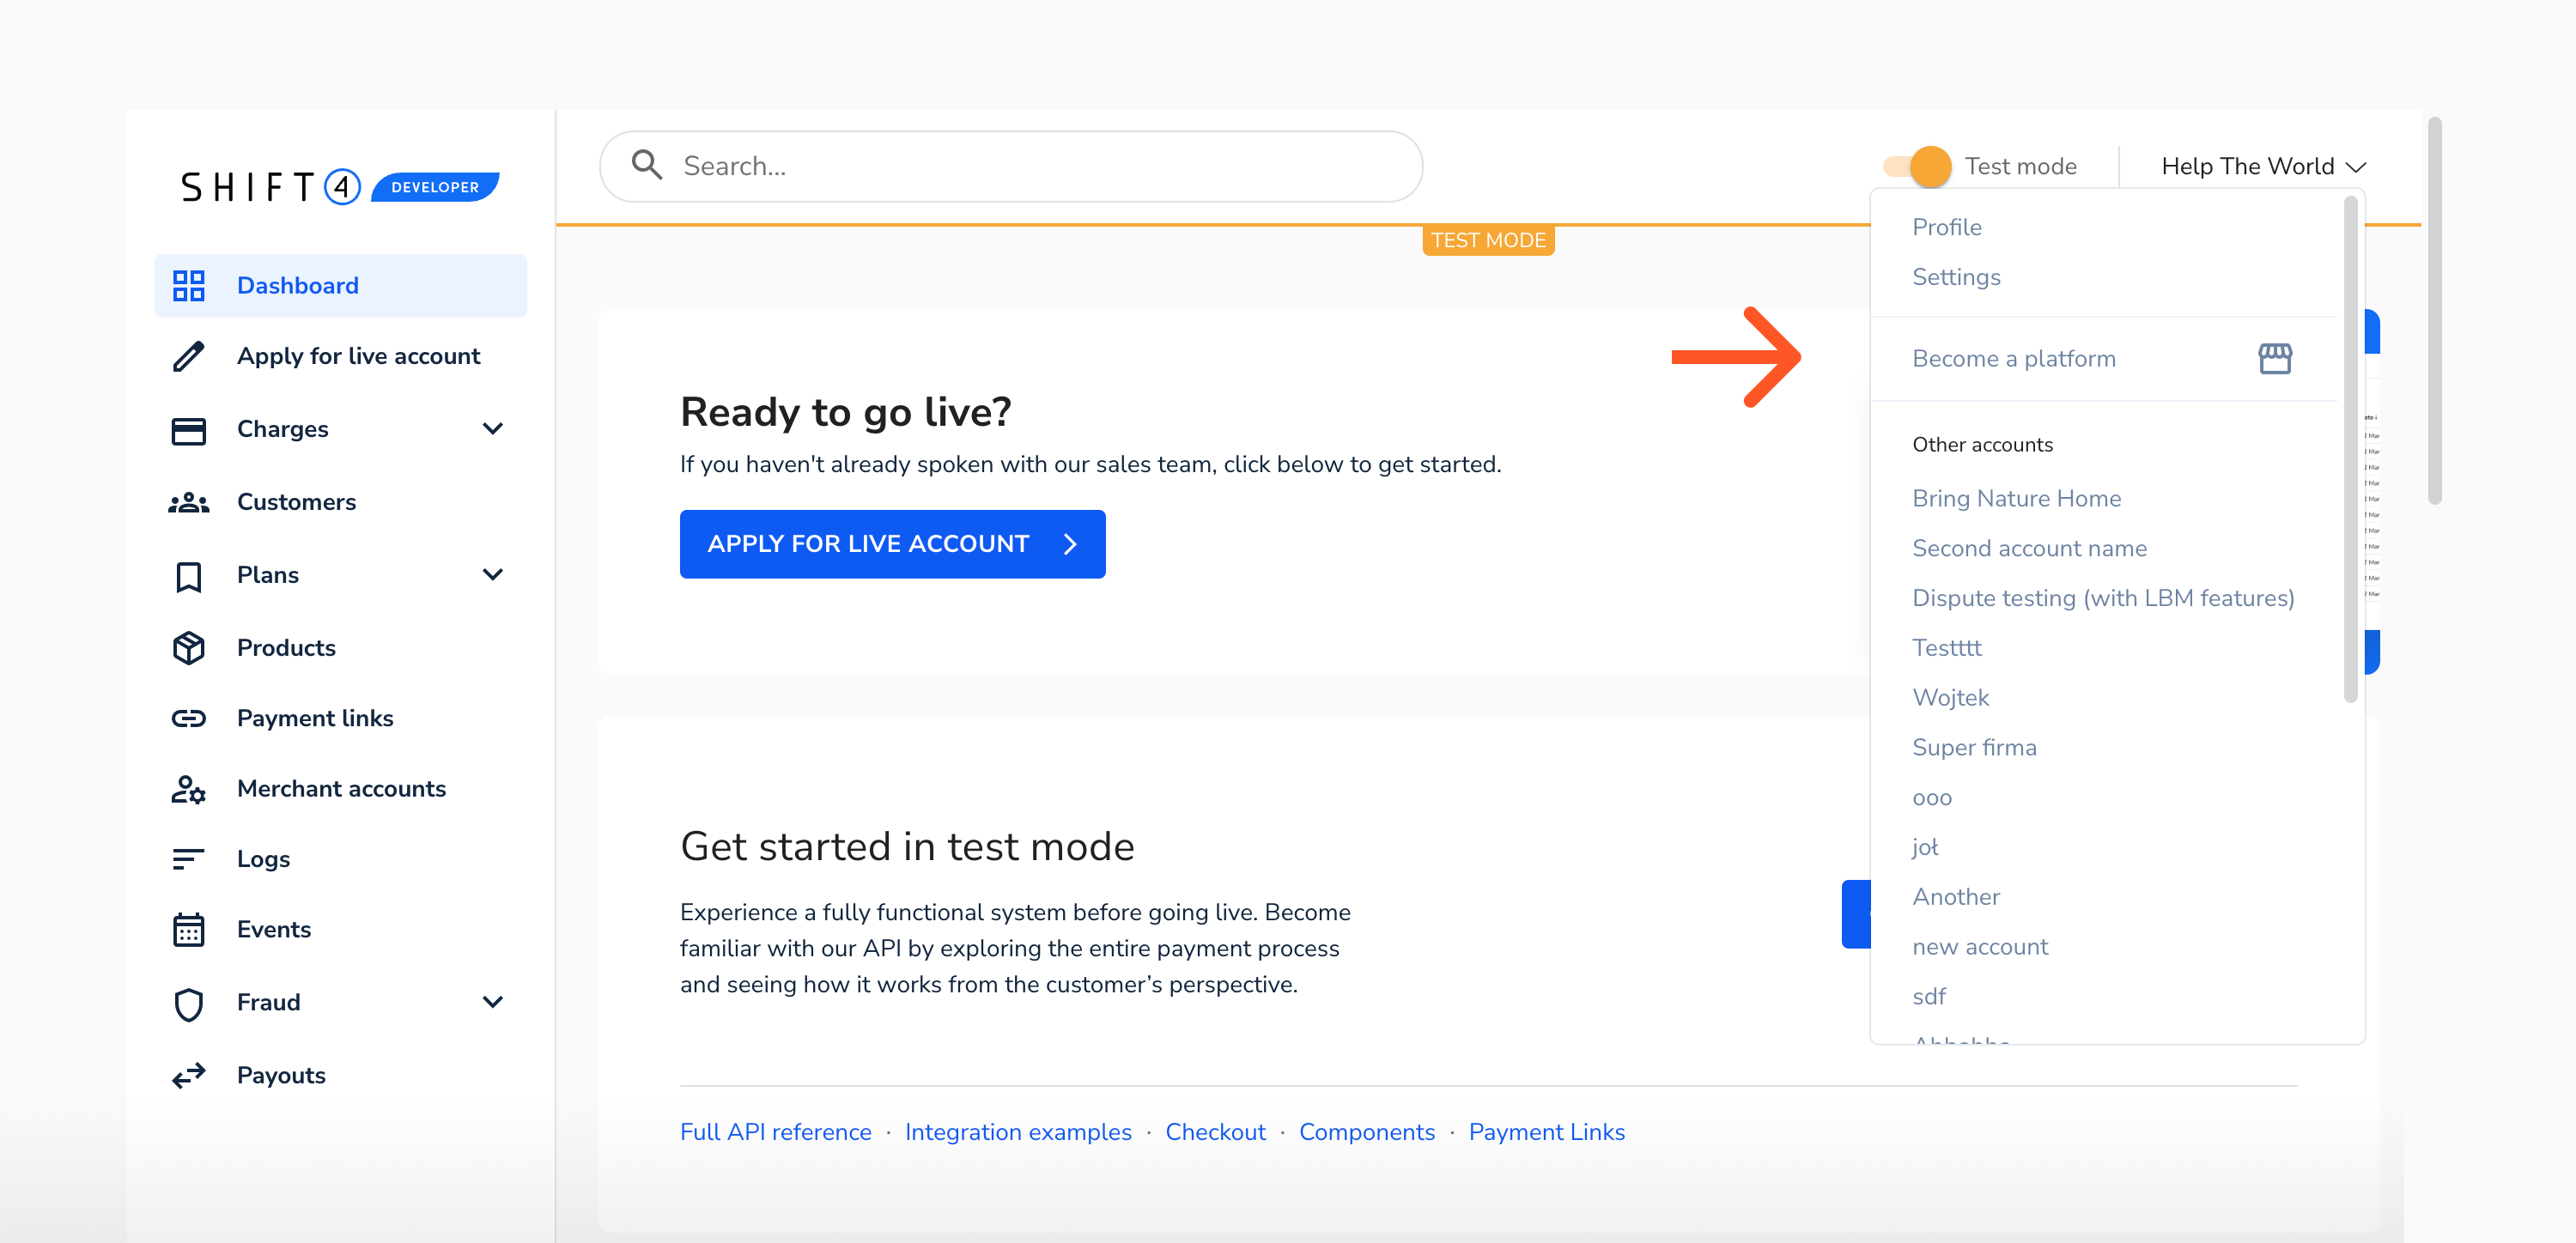
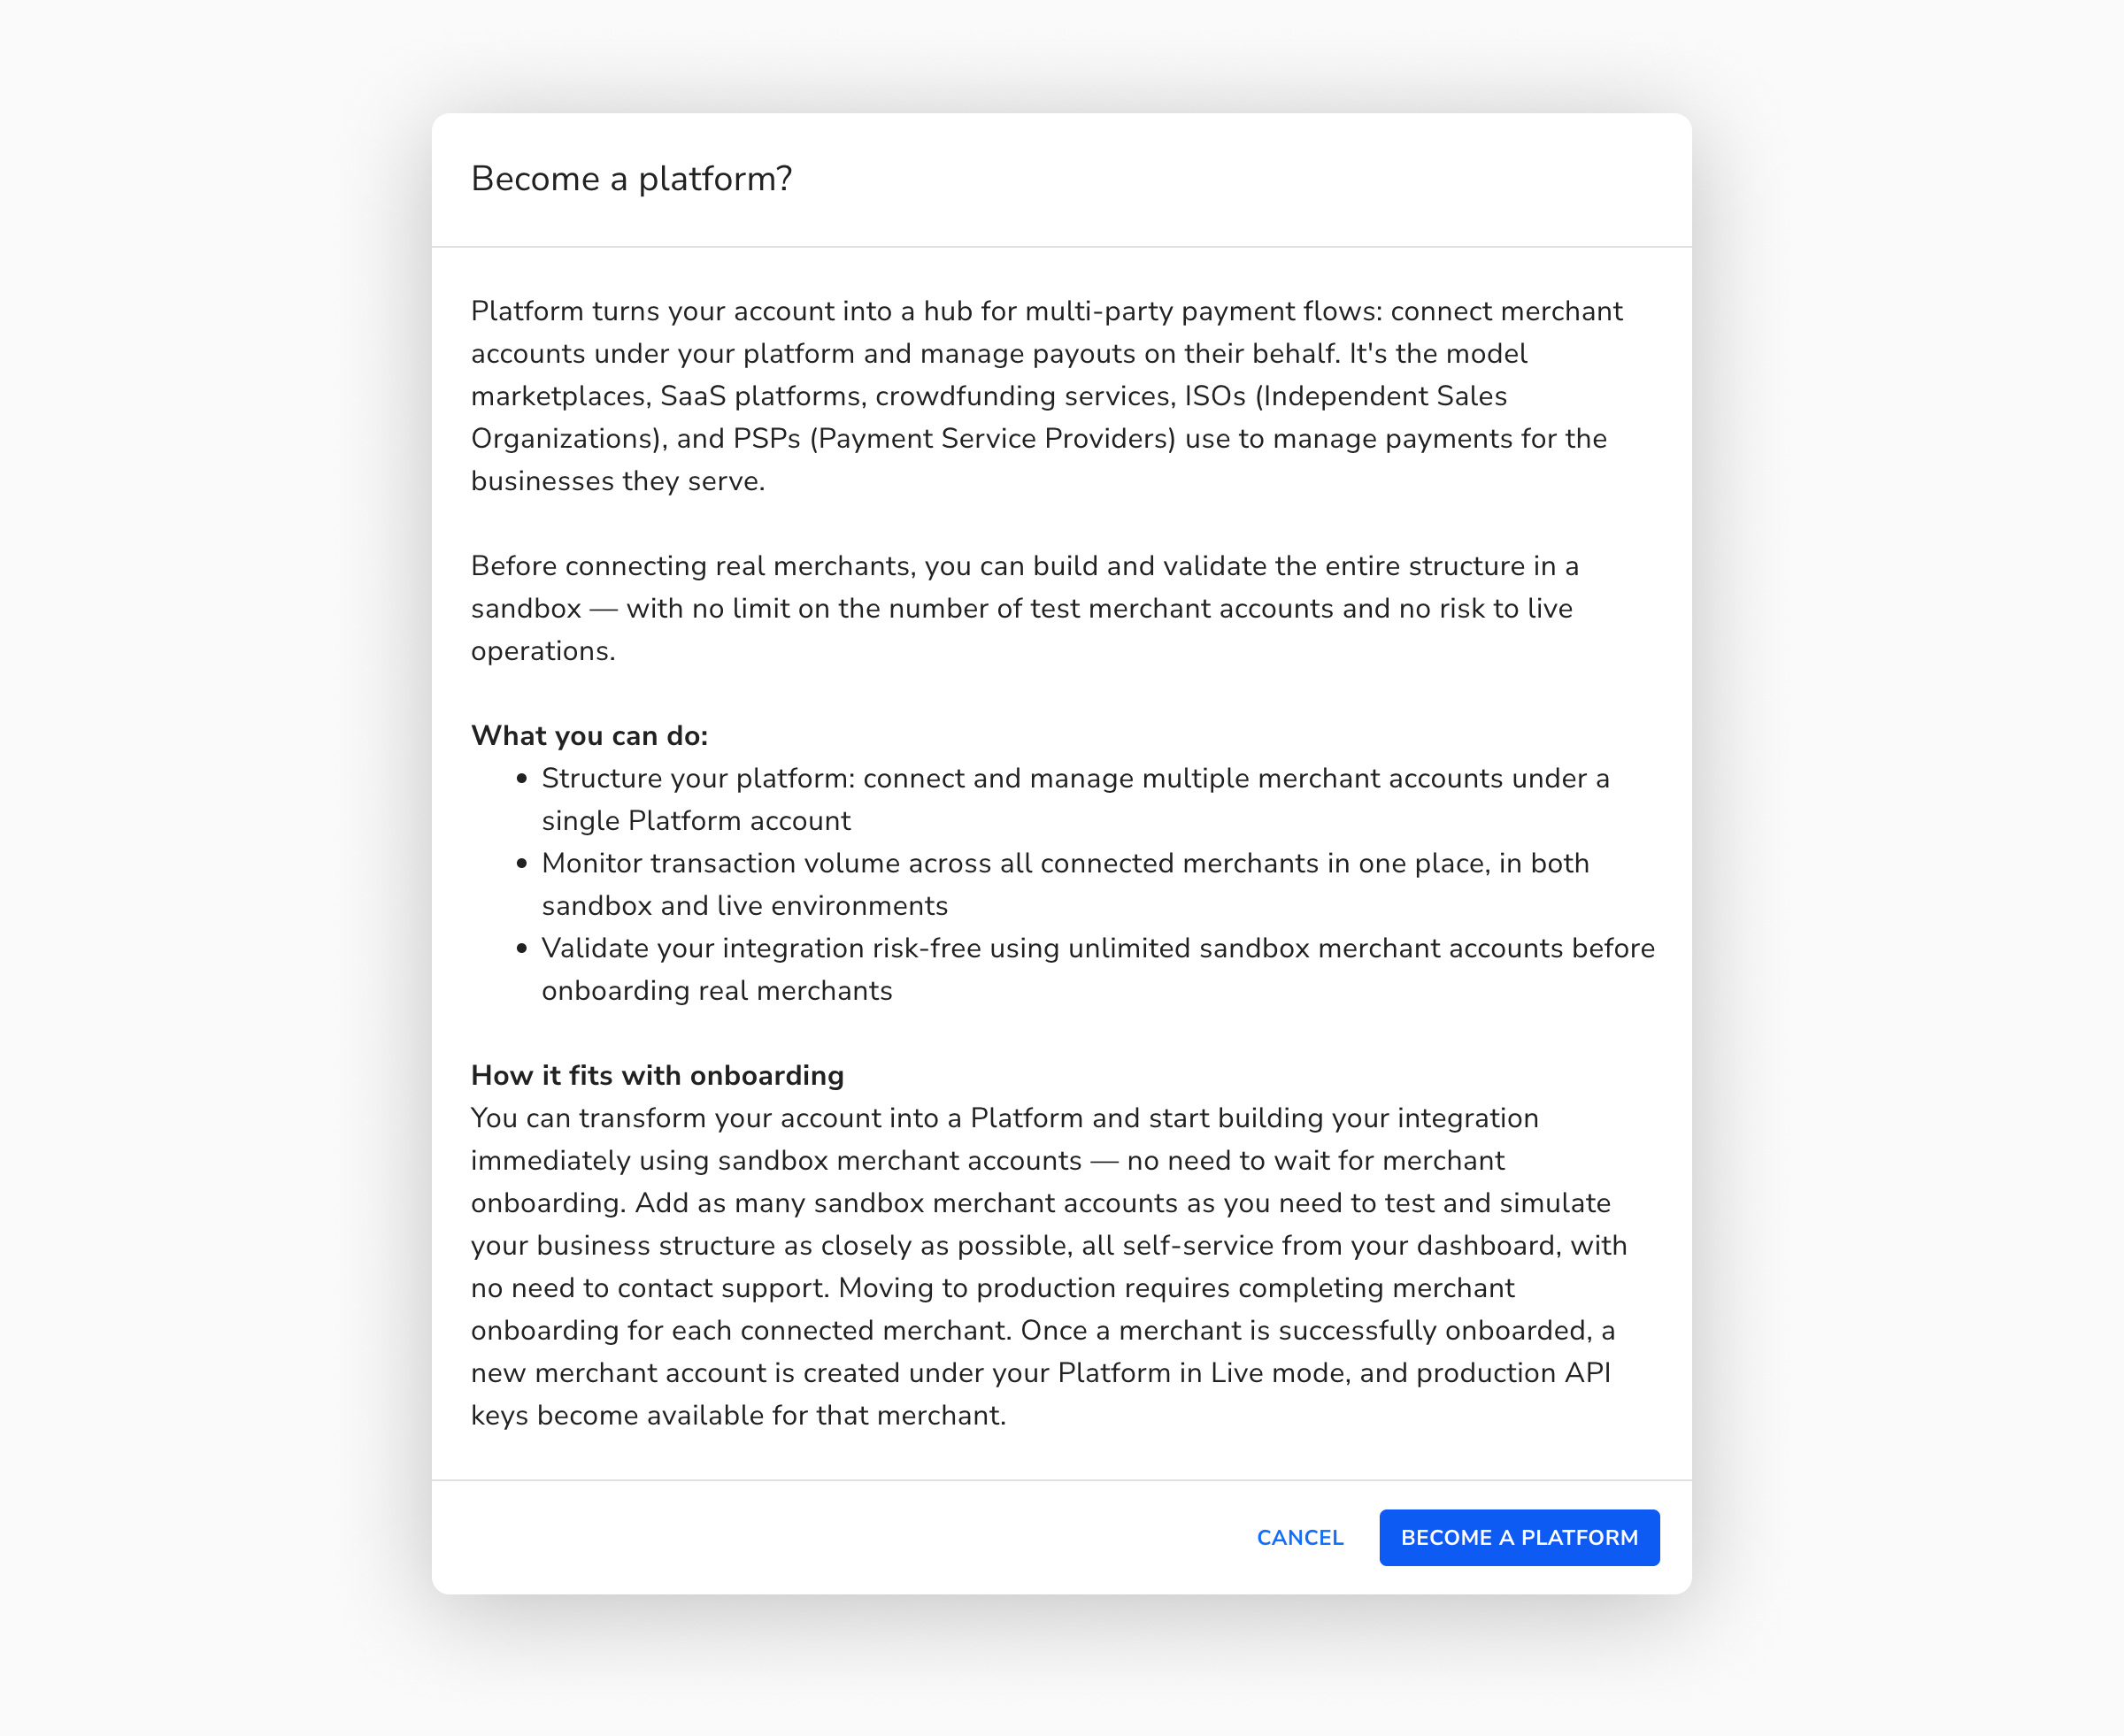
Step 2: Add sandbox merchant accounts
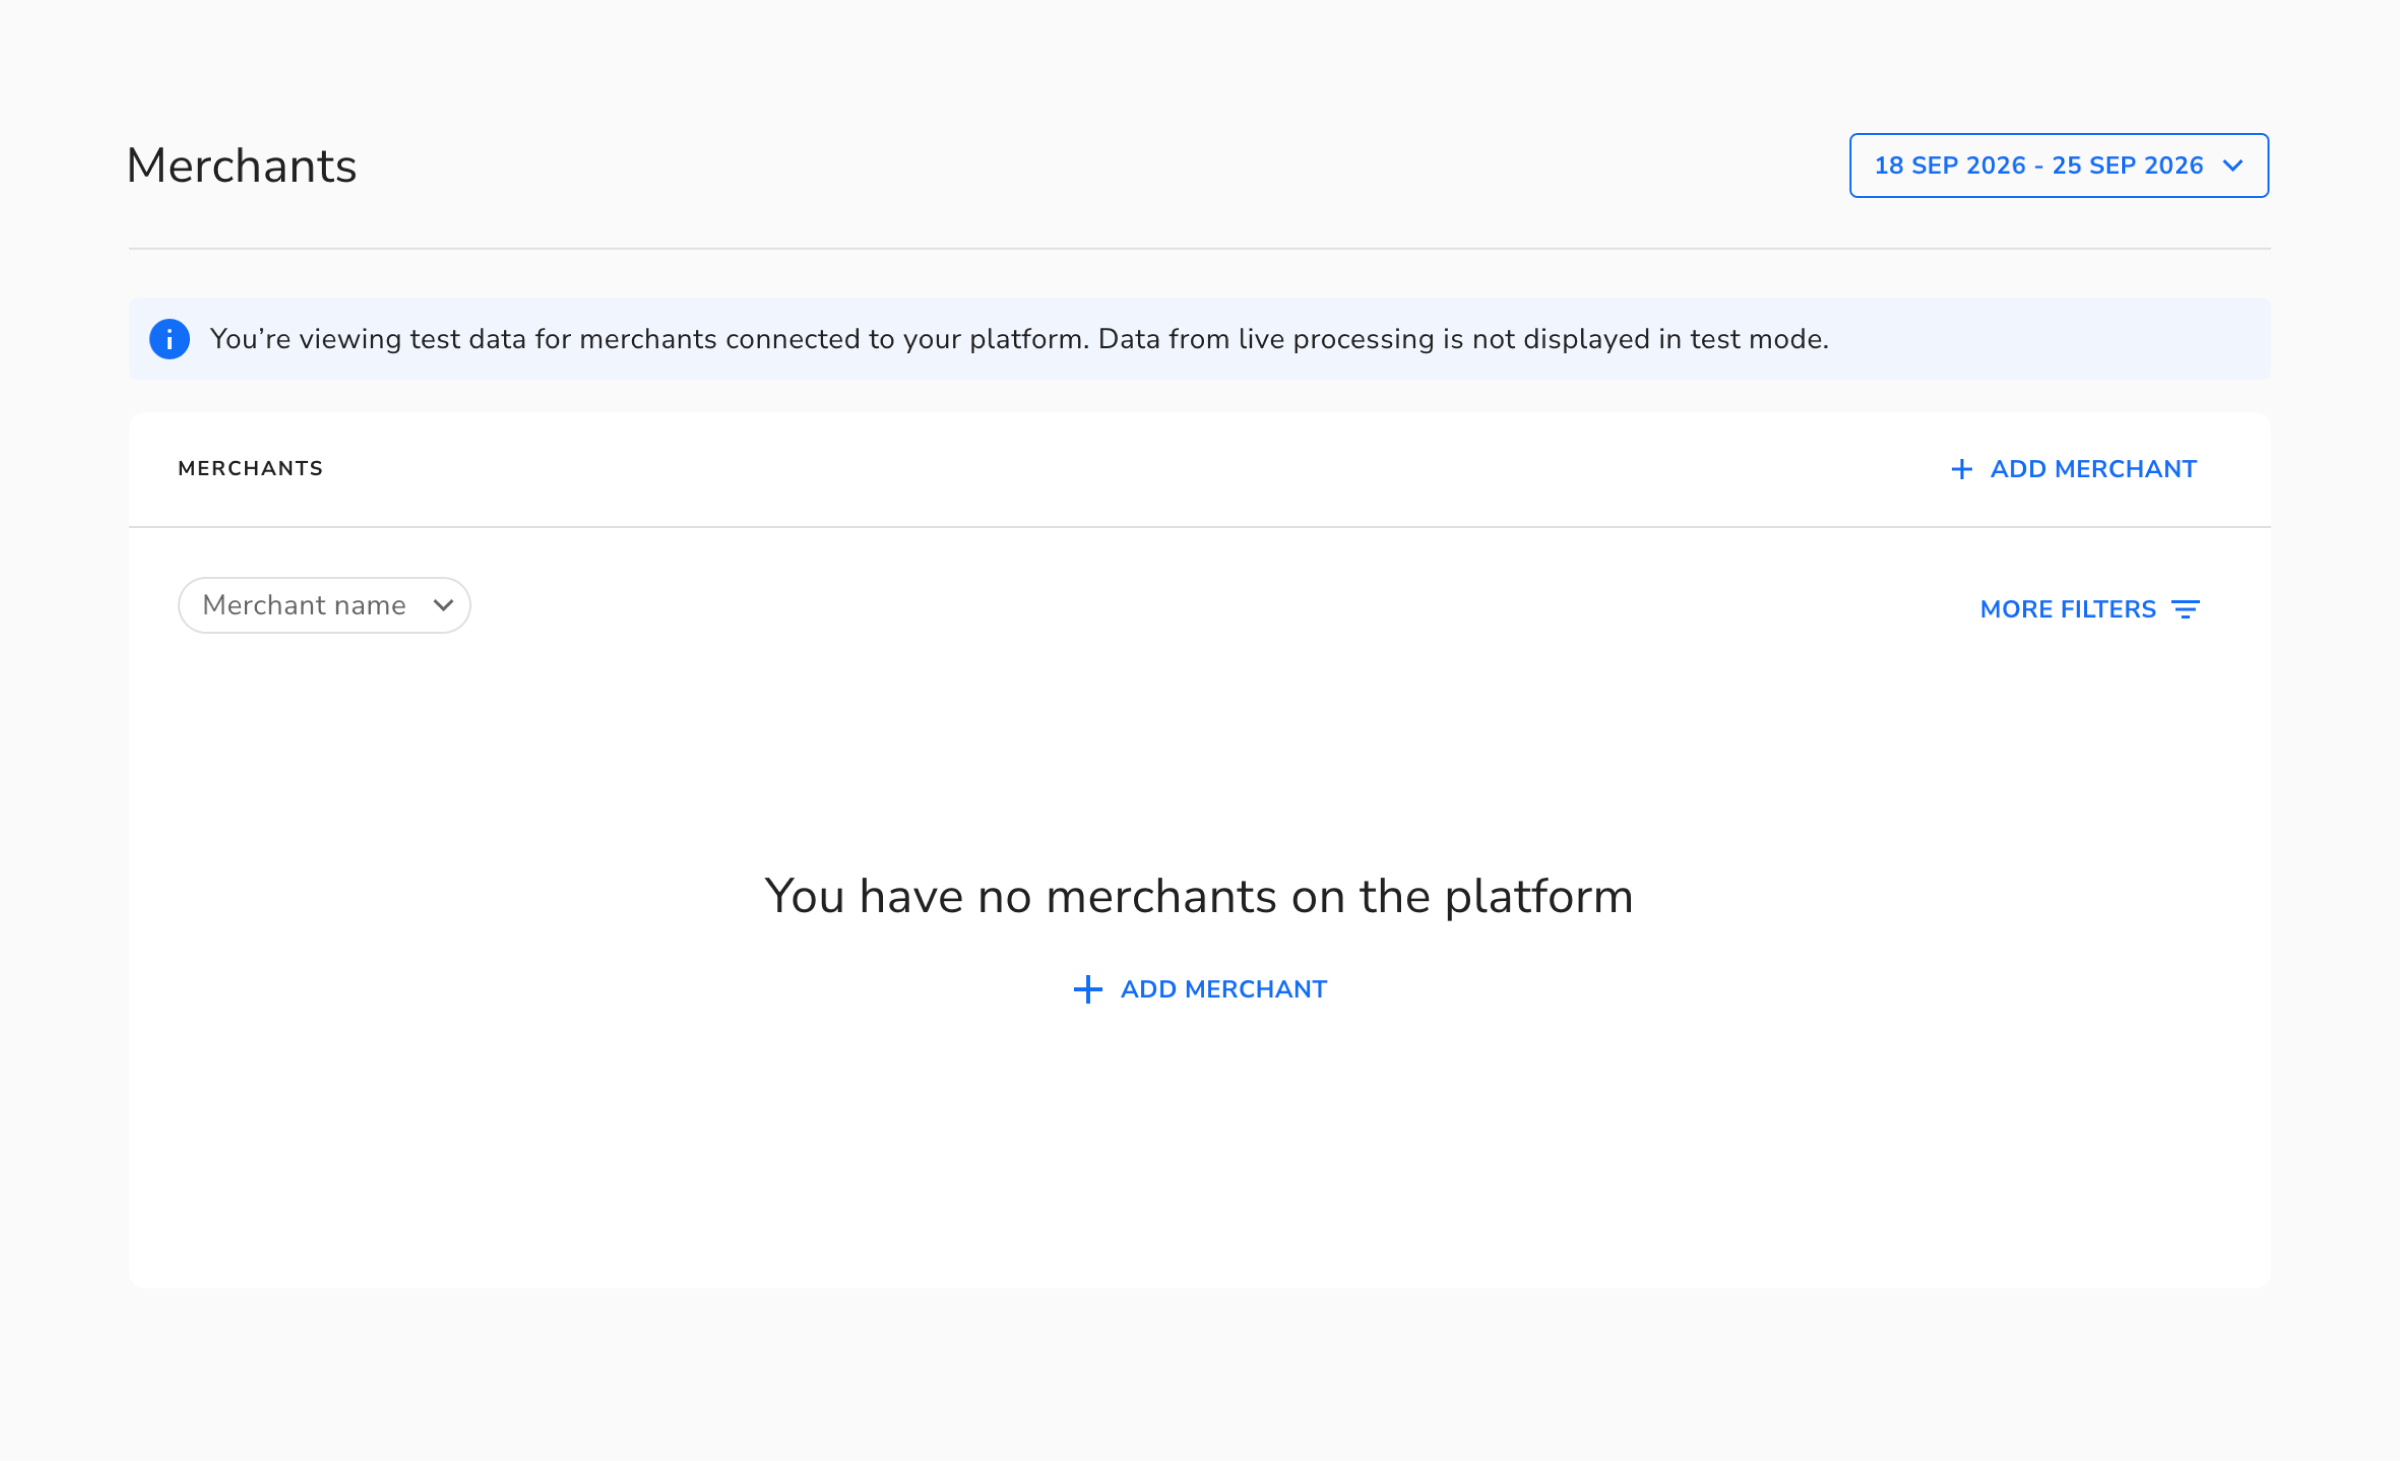
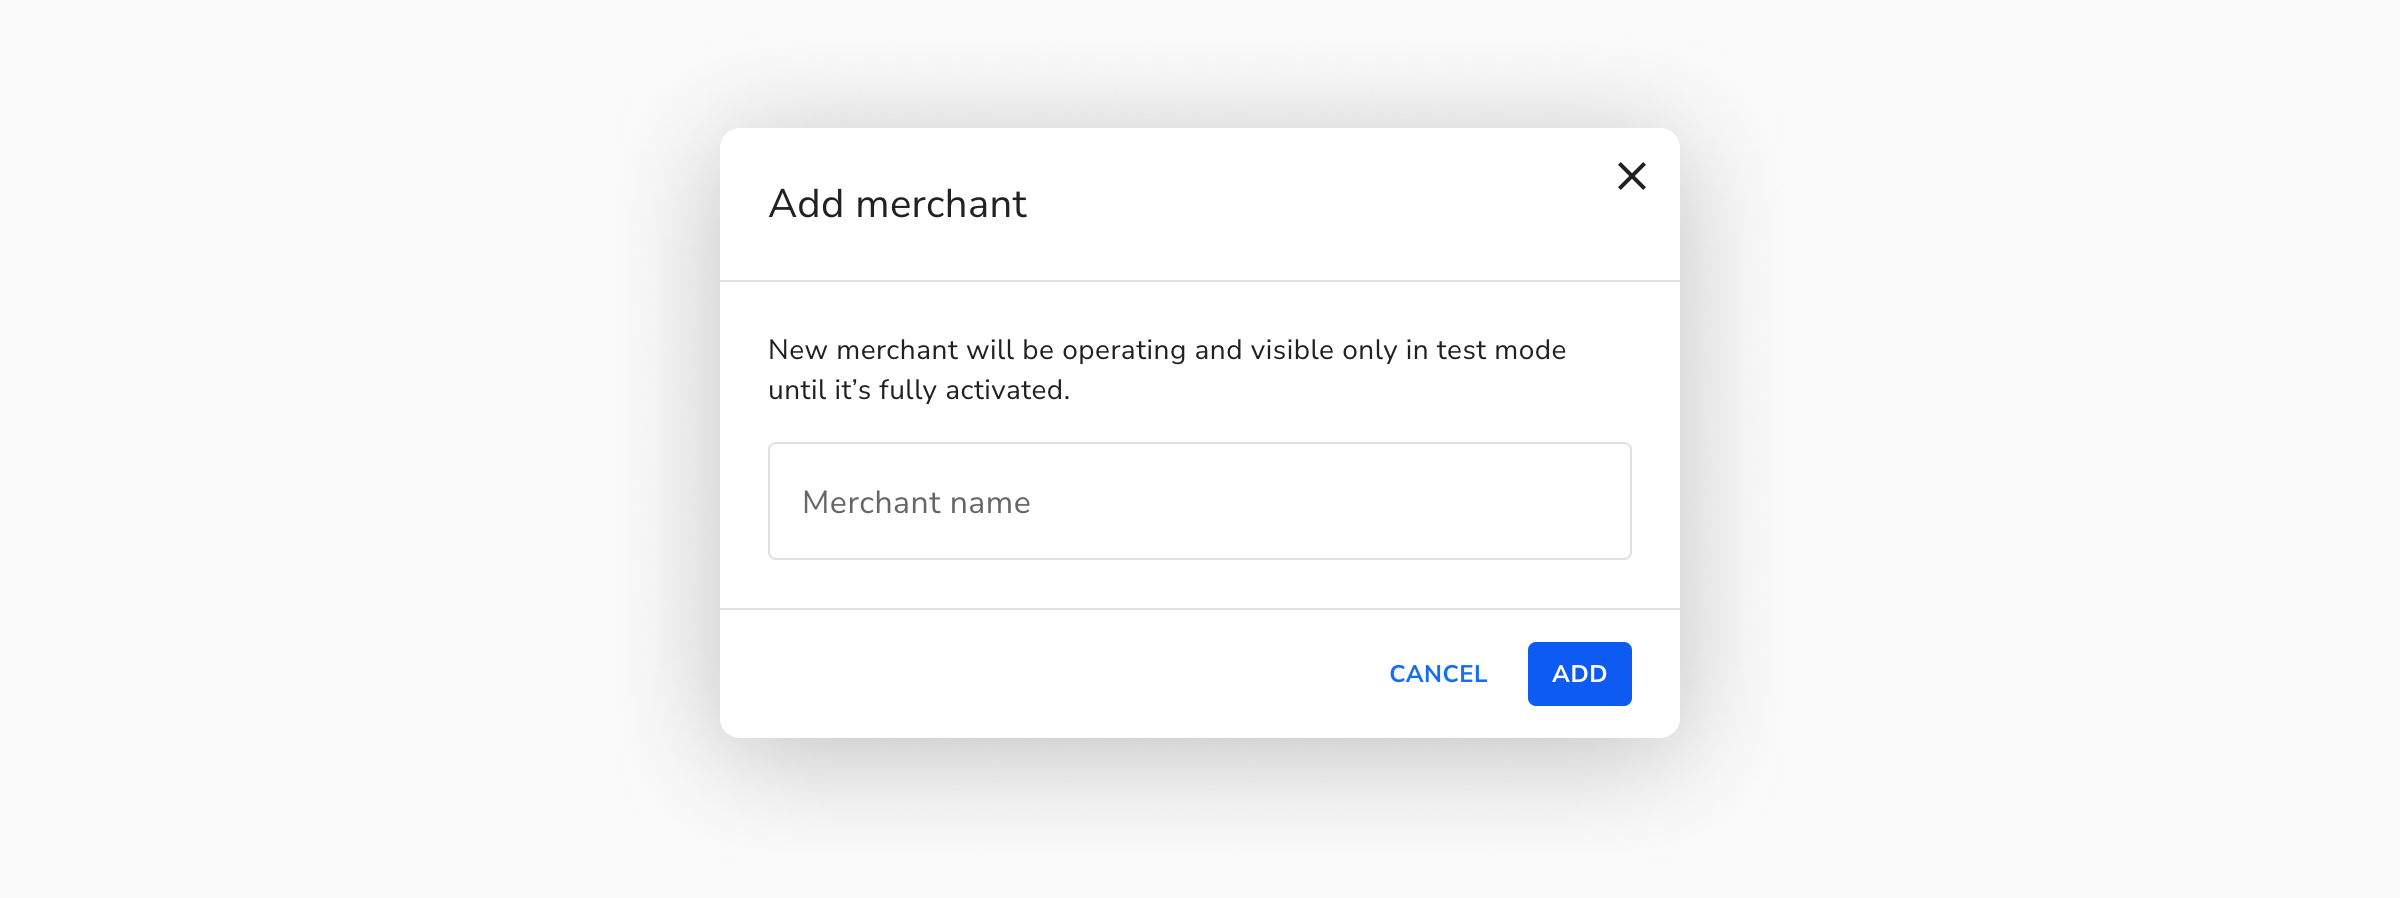
Once your account is set up as a Platform, you can add sandbox merchant accounts directly from your Dashboard — no need to contact support. Create as many as you need to simulate your platform structure and test your integration end to end.
Step 3: Contact us
Reach out to us at devsupport@shift4.com if you'd like to start using this feature. Our team will review your needs and confirm whether our platform can support your business model.
Step 4: Scope your integration
Your Shift4 representative will collaborate with you to plan and design your implementation.
Step 5: Build and test your integration
Your account includes test API keys so you can start building your integration immediately. Visit our GitHub and documentation for guidance during the implementation process.
Step 6: Go live
Replace your test API keys with live keys, and you'll be ready to start processing real transactions.
As a platform account, you manage your own payments and data directly. By default, the Dashboard displays your own account's information.
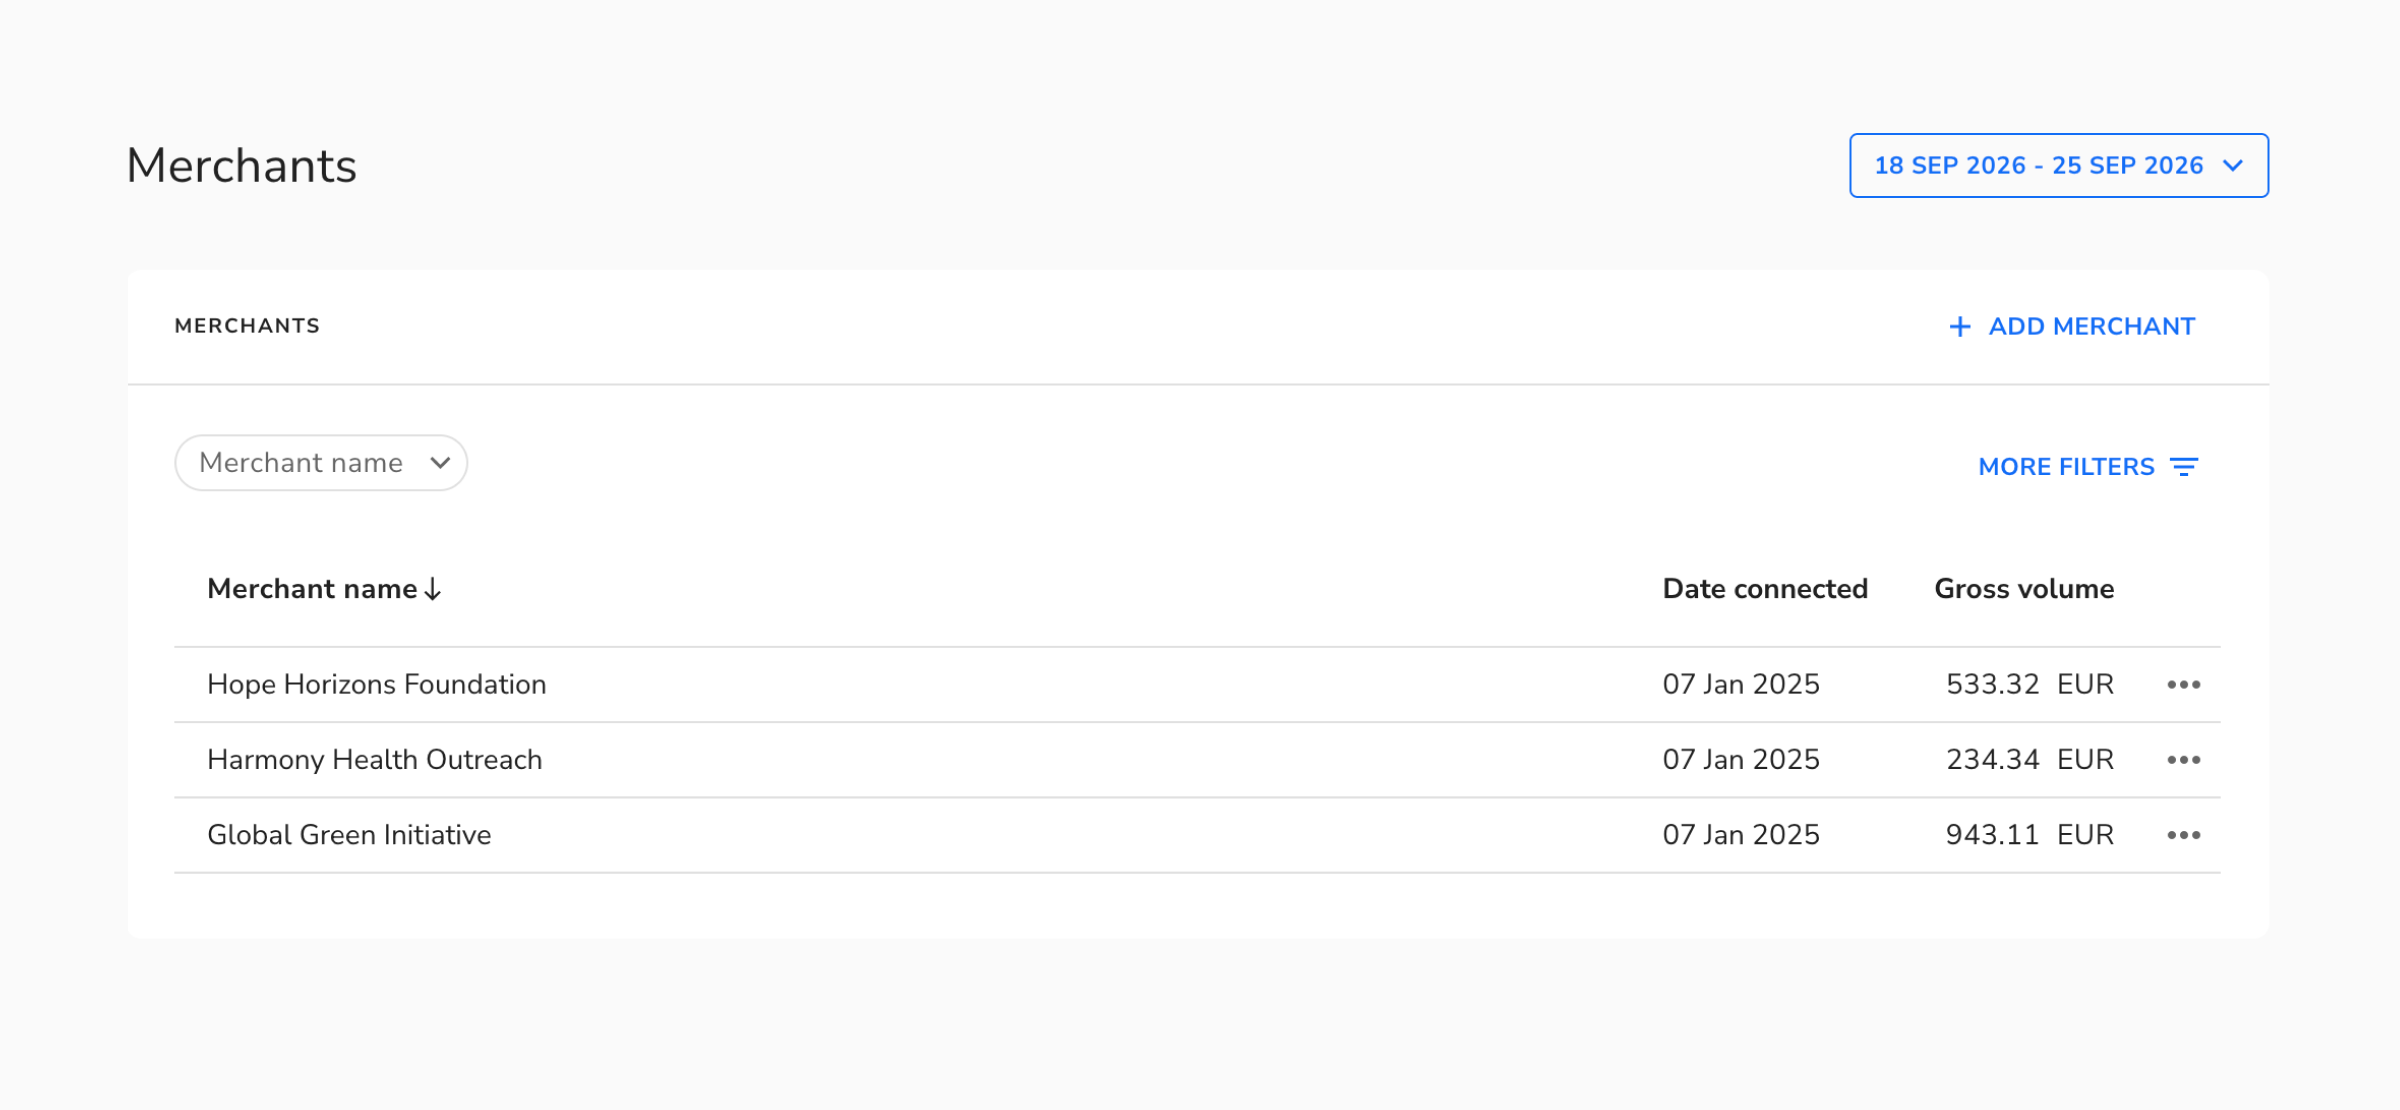
To view a connected merchant's data, you have two options:
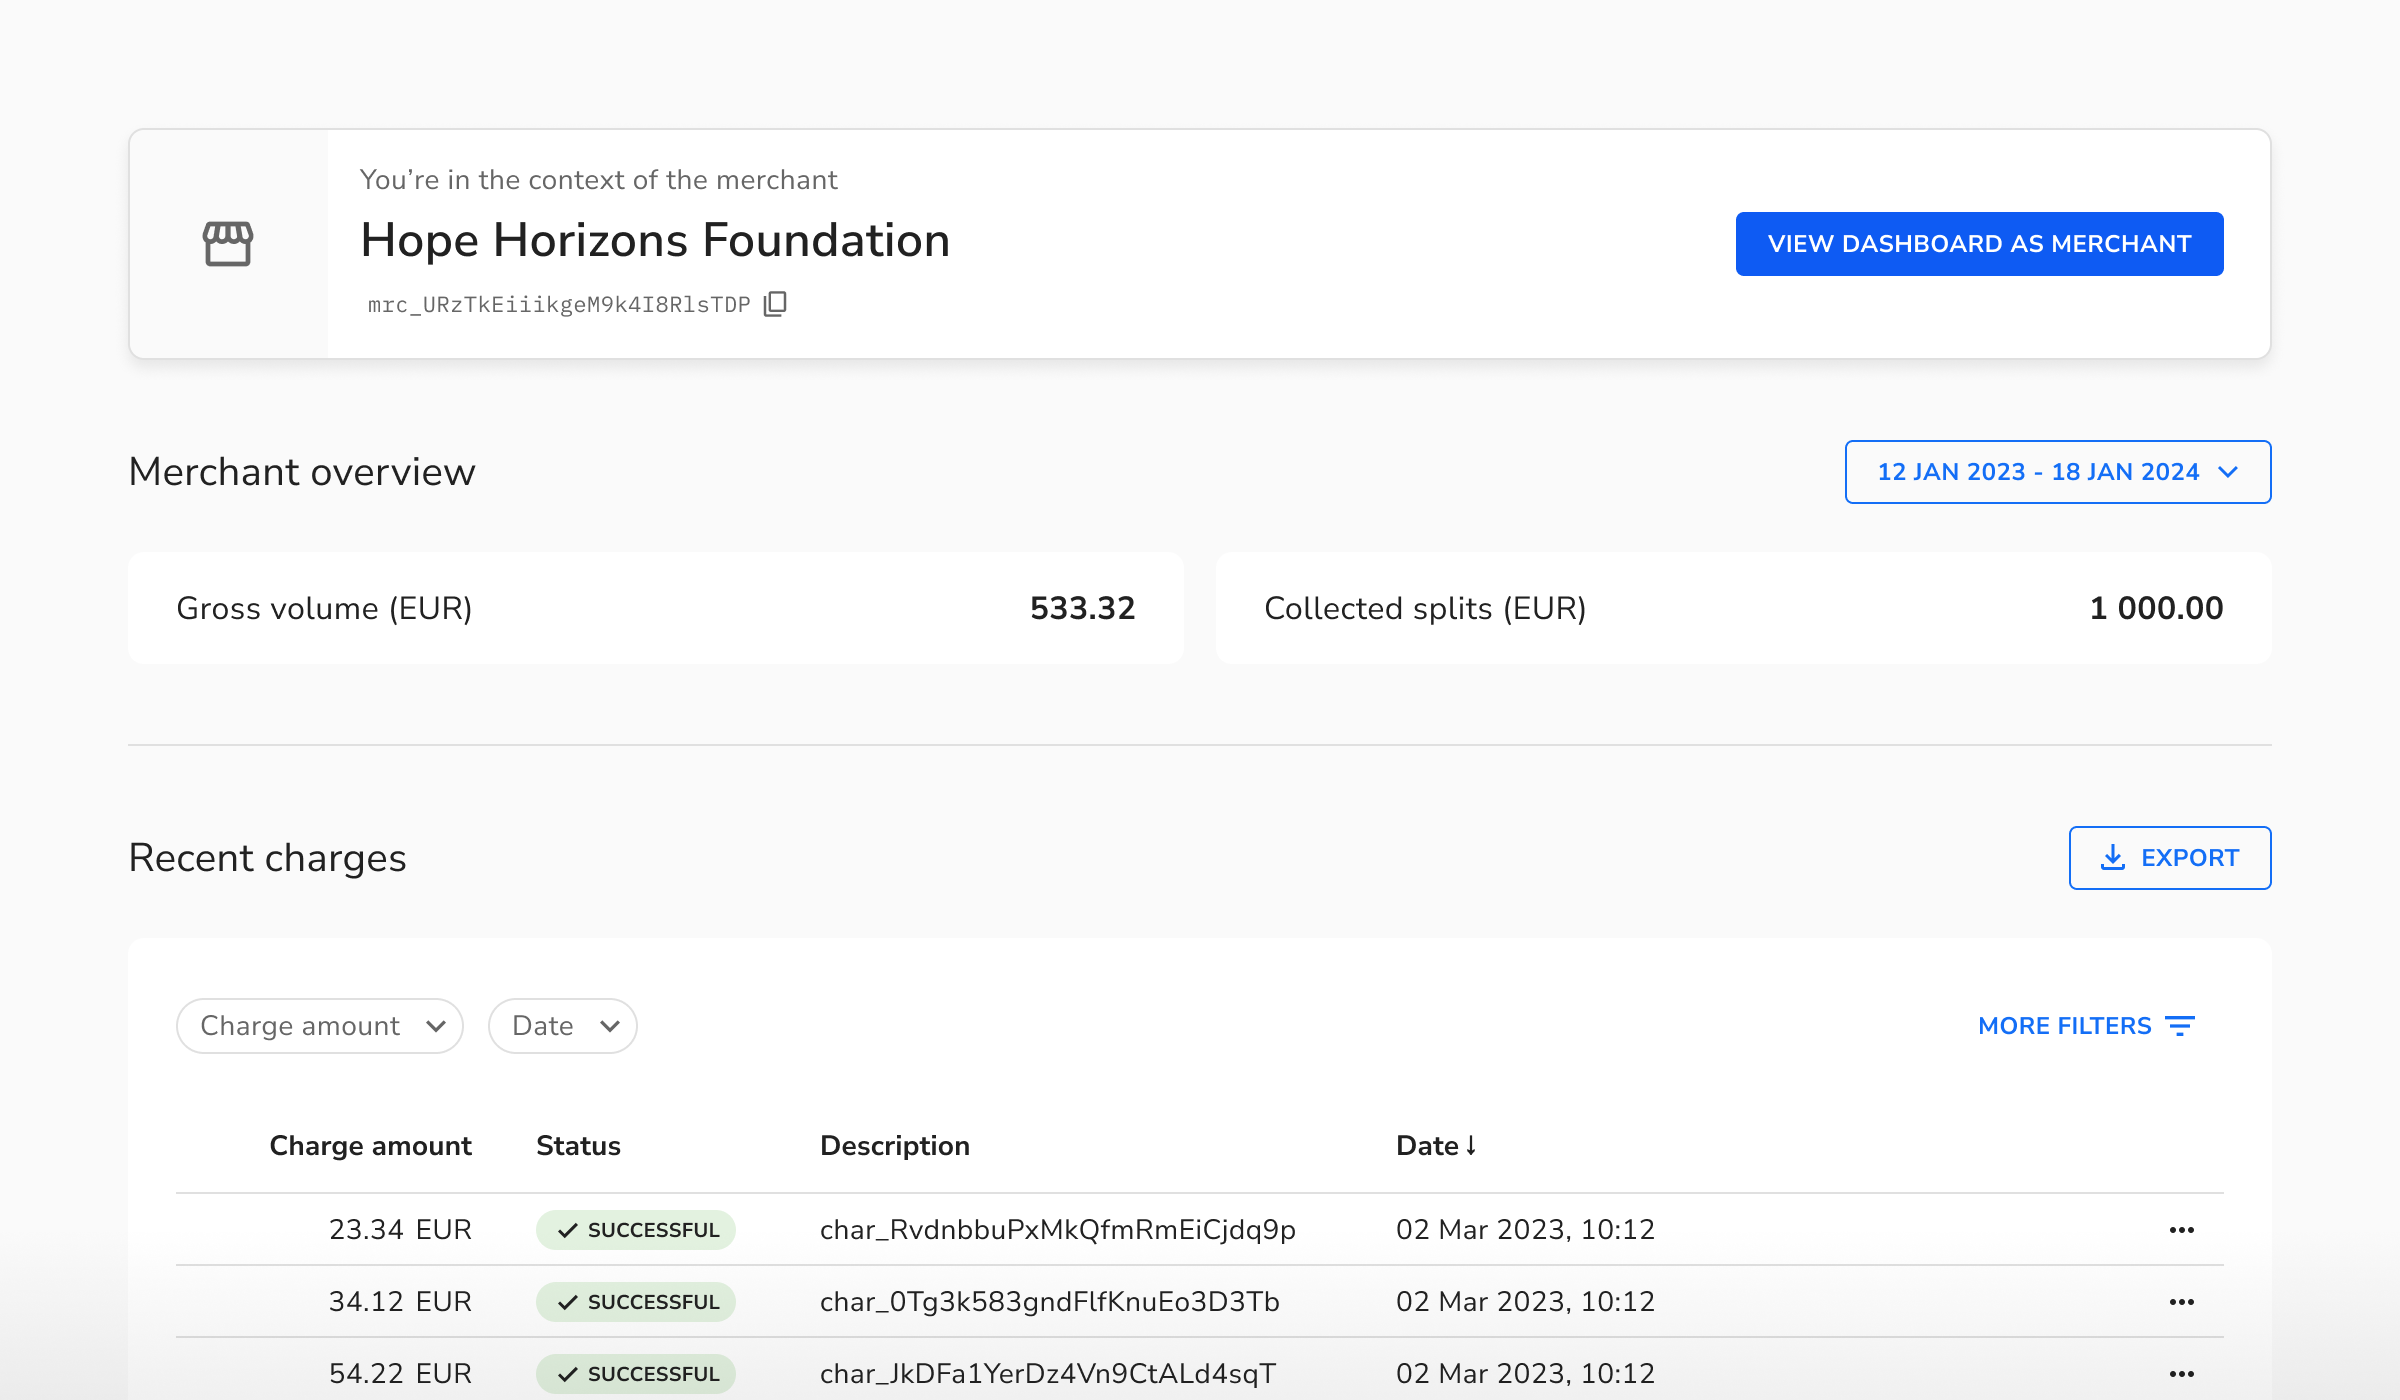
- Go to the merchant's details page for a quick overview, or
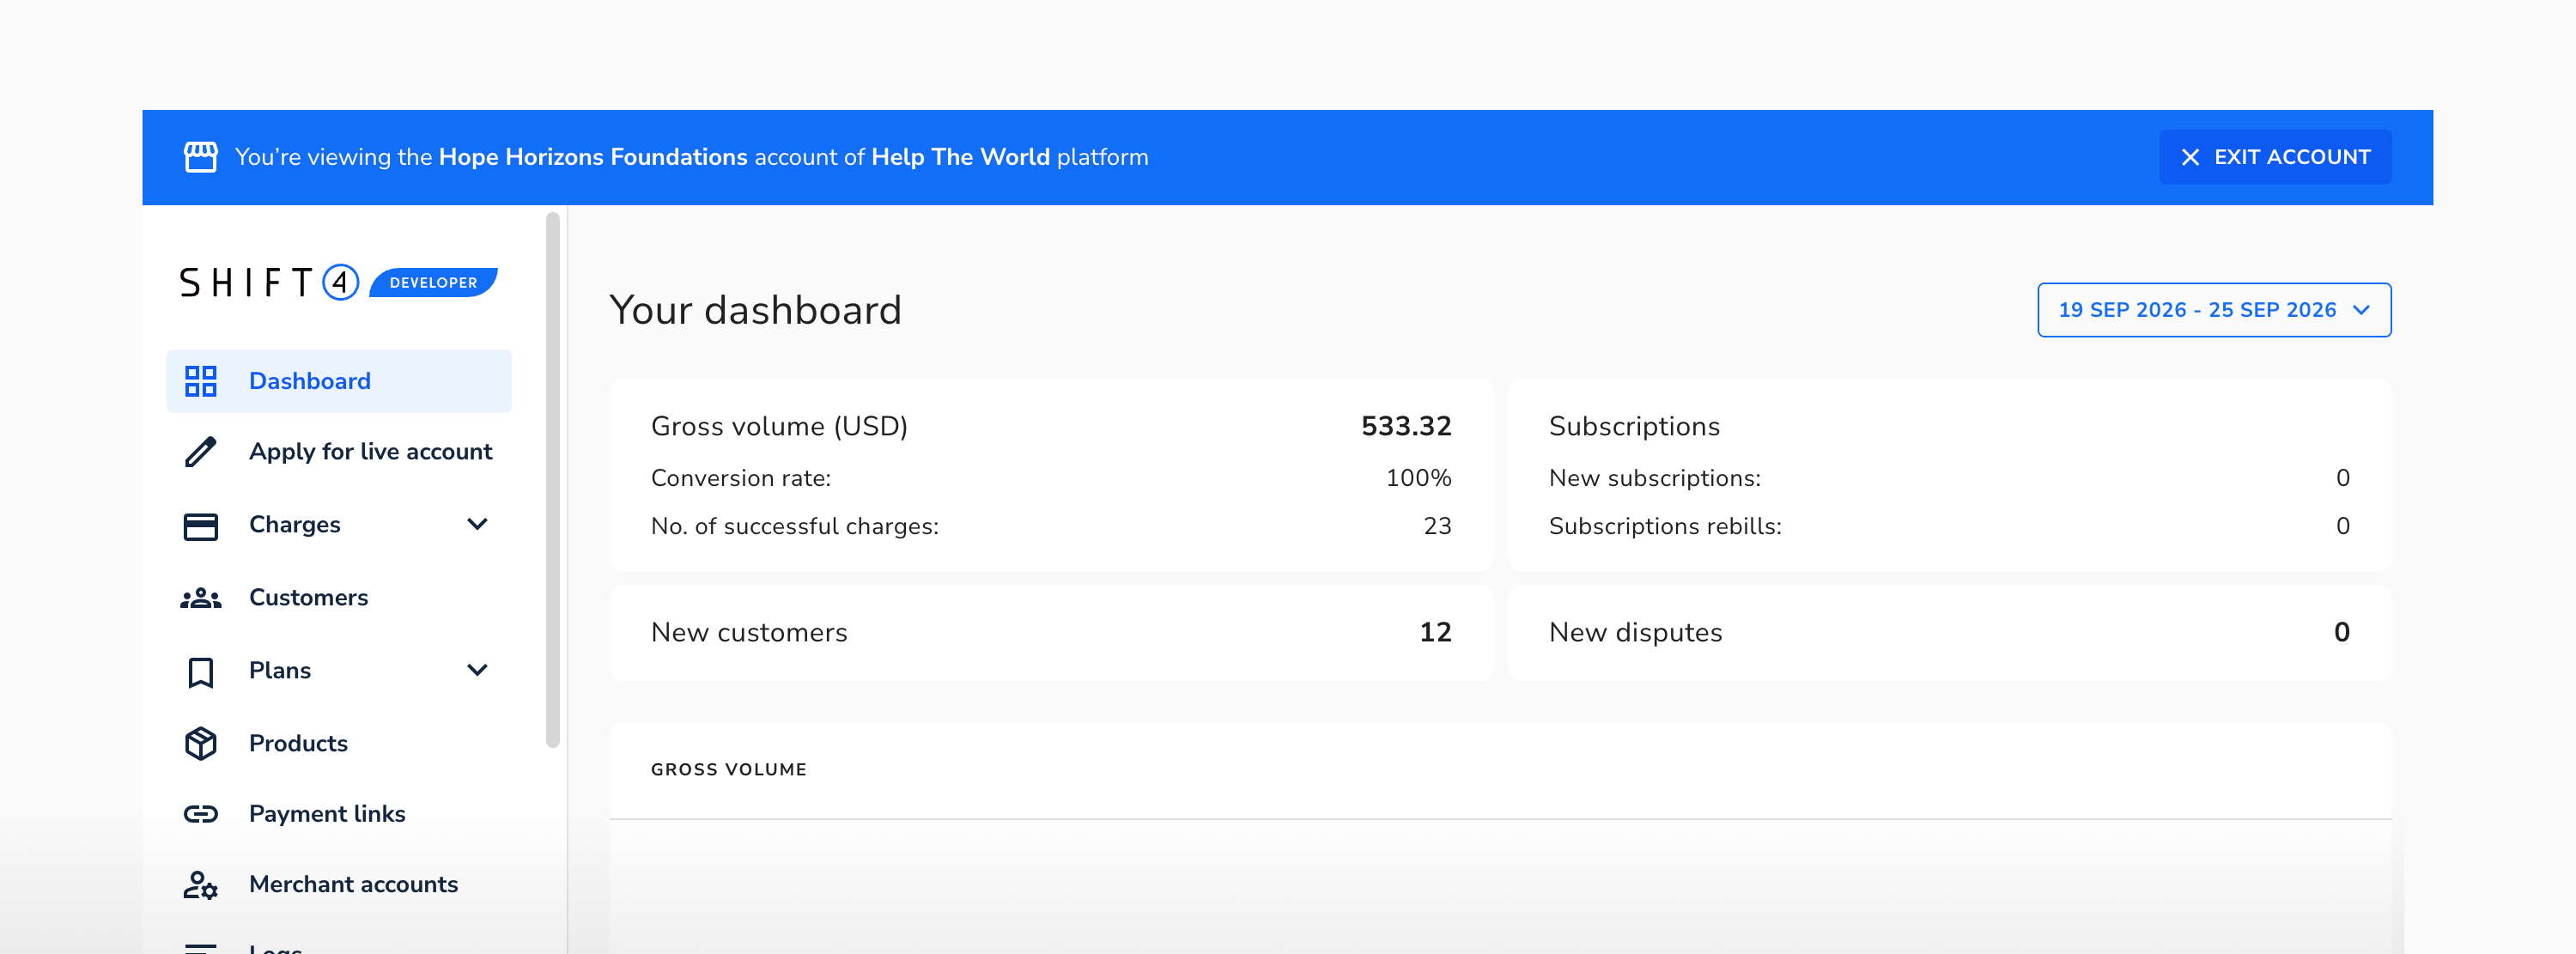
- Switch perspective to view the full Dashboard as that merchant would see it
To switch perspective, click the ⋯ (more options) menu next to a merchant in your merchant list and select "View Dashboard as merchant."
You can also access this option directly from the merchant's details page.
Once you switch perspective, a banner appears at the top of the Dashboard identifying the merchant you're viewing. To return to your own account, click Exit merchant view in the banner.
Permissions carry over automatically
When viewing the Dashboard from a merchant's perspective, your existing user permissions still apply:
- Administrators can create and manage objects on the merchant's behalf.
- Read-only users can view the merchant's data but cannot make changes.
This means you don't need to set up separate permissions for merchant-level access — your team's existing roles determine what they can do, whether they're working in your account or viewing a merchant's.
You can use the API to perform actions in different contexts:
- Your platform account
- Any merchant account connected to your platform
When sending a request on behalf of a merchant, you must include the merchant ID along with your API key. There are several ways to do this.
In our backend SDK, one can pass the Merchant ID as an additional parameter when initializing the SDK or as an additional option along the requests.
If you are not using our SDK you can pass Merchant ID in the HTTP request header Shift4-Merchant: <Merchant ID>.
In shift4.js Merchant ID can be passed as an additional parameter during initialization:
const shift4 = Shift4("pk_test_api_key_of_your_platform", {merchantId: "mrc_specificMerchantIdentifier"})