
Lists
Fraud Lists offer a clearer overview and facilitate the handling of criteria used for fraud protection. Rather than creating numerous Fraud Rules for specific types of values, you can simply establish a single Fraud Rule that applies to the values from a Fraud List.
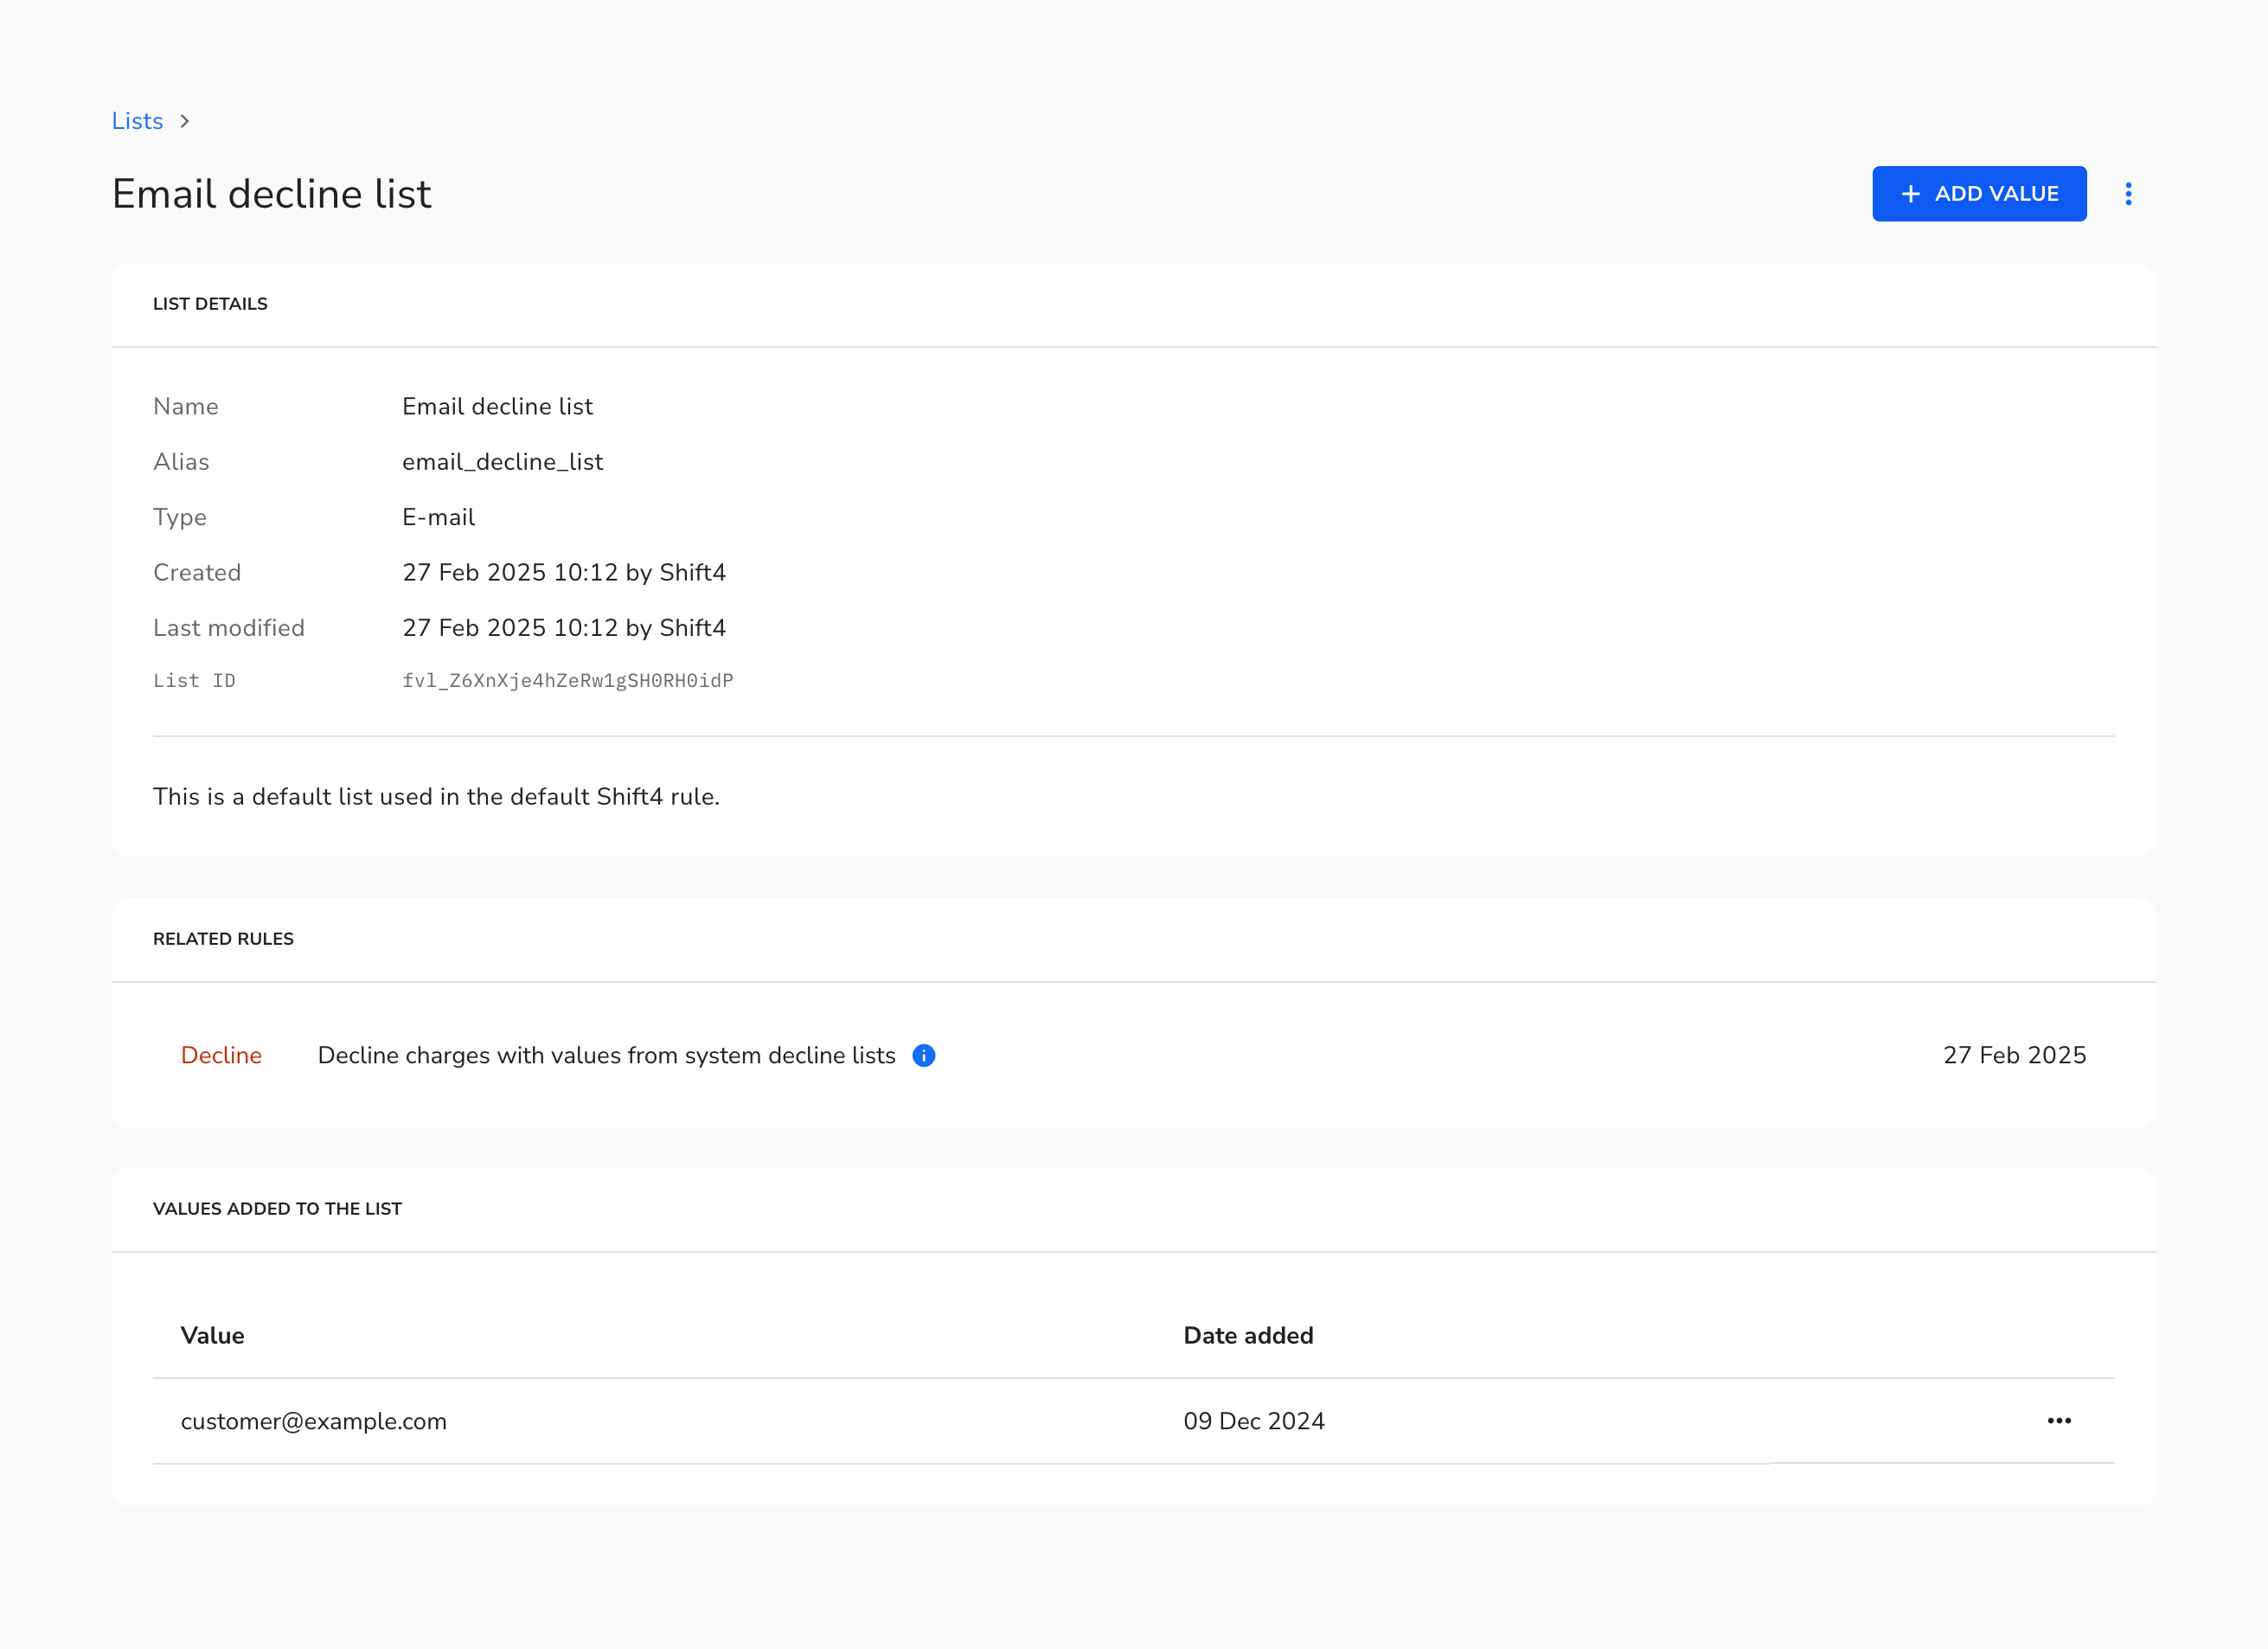
The default view of the Fraud Lists consists of Lists created by Shift4. They cannot be deleted. System Lists can be extended by adding values from a charge view or customer view
Merchants can also create their own Fraud Lists.
Please note that in case of system Fraud Lists, items added to the Approve List cannot be included in the Decline List. For example, you cannot pre-approve and ban an email address at the same time.
How to Add a Custom Fraud List
1. Navigate to the Fraud on the left side panel, then select Lists.
2. Click on the + Add List button located in the upper right corner.
3. Choose a data type that should be stored in the List. Select String as a criterion for Fraud Rules processing metadata.
4. Confirm by clicking Add. A new List should now be visible on the main view.
5. To populate the List, simply click on it and then use the Add Value button.
When you add an item to the List, you can expand it with a new value and review the existing values and associated Fraud Rules. Additionally, you can easily edit the List’s name by using the context menu next to the Add Value button.
How to Delete a Custom Fraud List
1. Navigate to the Fraud on the left side panel, then select Lists.
2. Choose a List you'd like to delete.
3. Click on the three horizontally aligned dots at the end of a line and choose option Delete.
4. Confirm by clicking Delete on the on-screen communicate.
How to Add a Value to a Fraud List From the Charge View
1. Navigate to Charges on left side panel.
2. Click on the selected charge.
3. Click the Add To List button in the upper right corner.
4. Choose a field to which a Fraud Rule should be applied, and specify the type of Rule (Approve or Decline). There are no limitations on the number of fields you can pre-approve or ban in the same action.

5. Once you confirm the changes by clicking Save at the bottom of the modal, new items will appear on respective default Fraud Lists. You can select a field from the metadata; if there is no custom List available for this field, one will be automatically created and populated. Note: if you choose to use metadata as a criterion for a Fraud Rule, a new system Fraud List will be created. Like other Lists created by Shift4, this new List cannot be removed.
How to Add a Value to the Fraud List From the Customer View
1. Navigate to Customers on the left-side panel.
2. Click on the selected customer.
3. Click the Add To List button in the upper right corner. Customer email address will be added to a system Approve or Decline List.